
The controlling of prepress phase in flexo printing is where the print quality wins or lose the battle. It’s a critical series of steps that requires careful attention to detail and precise execution in flexo prepress quality control. Here are the essential checkpoints that ensure the journey from design to print goes smoothly and that the final product meets the high standards expected in this competitive market.
Artwork File Integrity
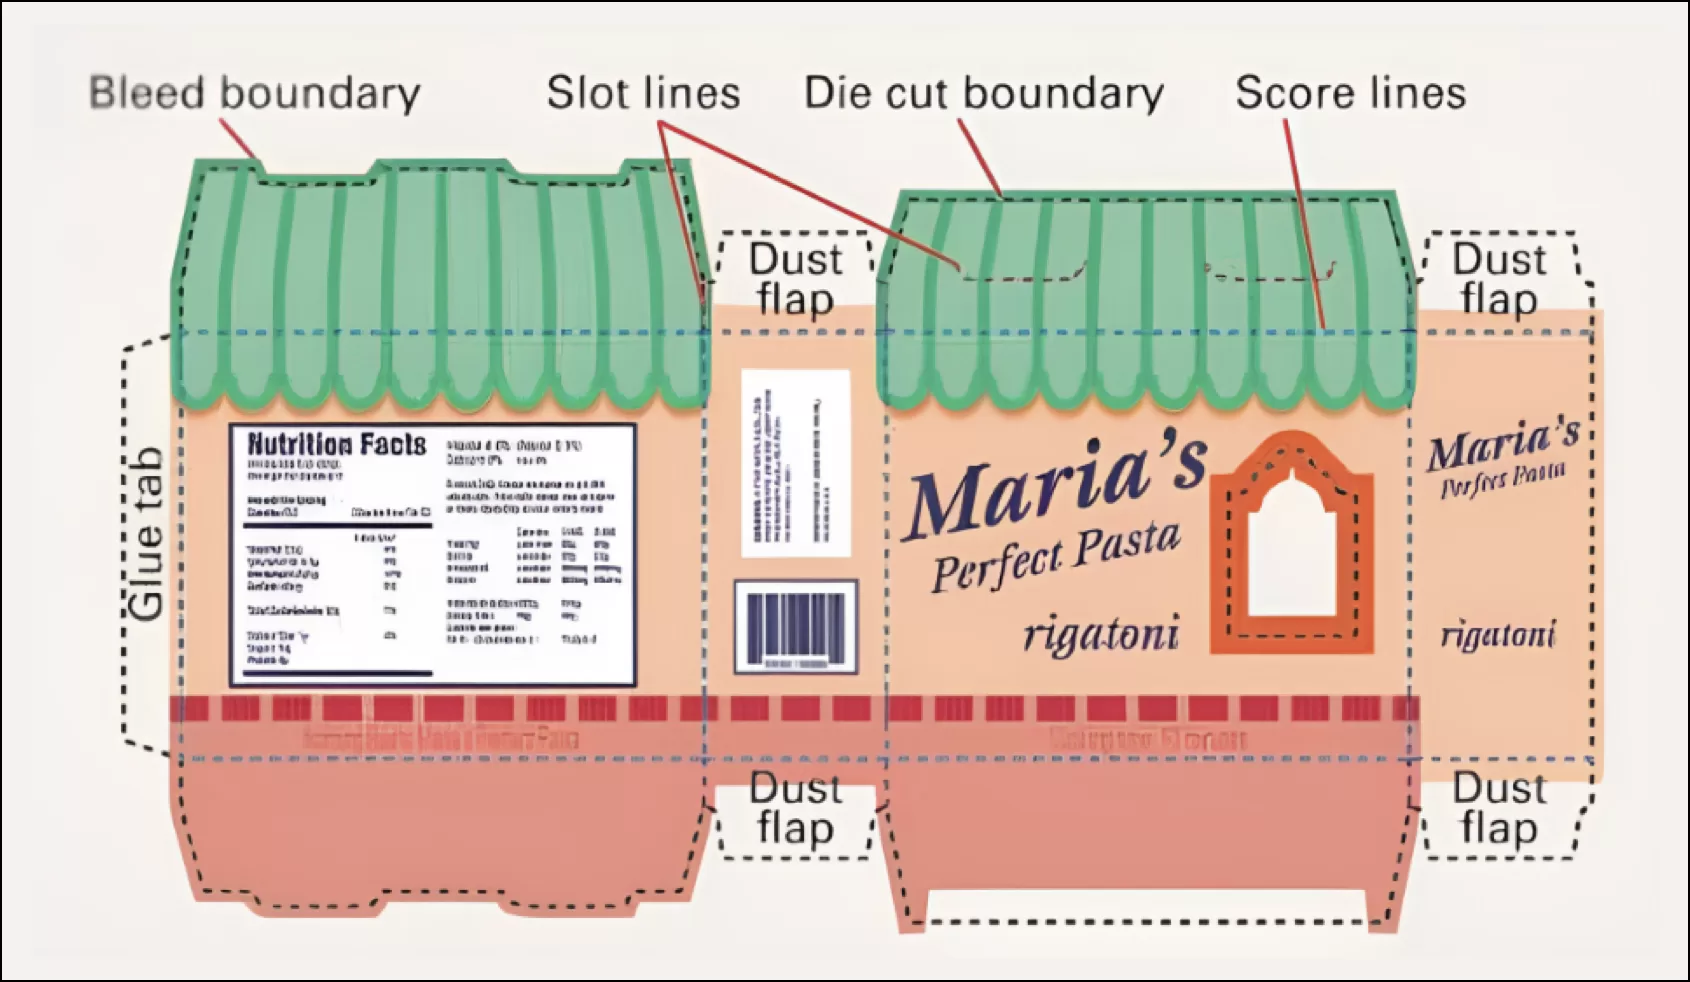
- Bleed boundaries: Verify that artwork extends beyond the bleed line to ensure a clean edge after trimming.
- Slot lines and auxiliary marks: Ensure that all folding and cutting guides are in the correct position.
- Colour separation: Verify that colour separation is accurate and will print without overlap.
- Vector image outlines: Confirm that all vector lines are sharp and clear for high quality output.
- Font consistency: Fonts must be consistent throughout the artwork and should be embedded or outlined to avoid inconsistencies.
- Overlay element interactions: Check the interaction between overlay elements to avoid unintended visual conflicts or errors.
 𝔰𝔯𝔠 AGFA
Raster Image Processing
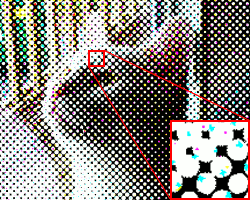
- Screen ruling and angle: Check that the screen ruling is suitable for the intended substrate and that the angles are in stagger to prevent moire.
- Dot shape and size: Confirm that dot shapes are appropriate to reproduce the intended image quality.
- Image distortion: Check for any distortion that could affect the fidelity of the printed image.
- Registration mark accuracy: Ensure that all registration marks are accurate for accurate colour layering.
- Tonal curve accuracy: Evaluate the reproduction of the tonal curves to ensure accurate rendering of light and shadow.
 𝔰𝔯𝔠 Wapcaplet
 𝔰𝔯𝔠 Anyflexo
 𝔰𝔯𝔠 Onyx
Laser Parameter Presetting
- Energy output matching: Match laser energy output to plate specifications for clean and accurate ablation.
- Densitometer validation: Use a densitometer to verify that the plate exposure is within the required specifications.
- Plate and laser compatibility: Verify that the selected plate material is fully compatible with the type of laser in use.
- Laser focus adjustment: Confirm to fine-tune the laser focus to ensure clear image transfer onto the plate.
- Temperature monitoring: Monitor the temperature during laser ablation to avoid compromising the integrity of the plate.
 𝔰𝔯𝔠 Anyflexo
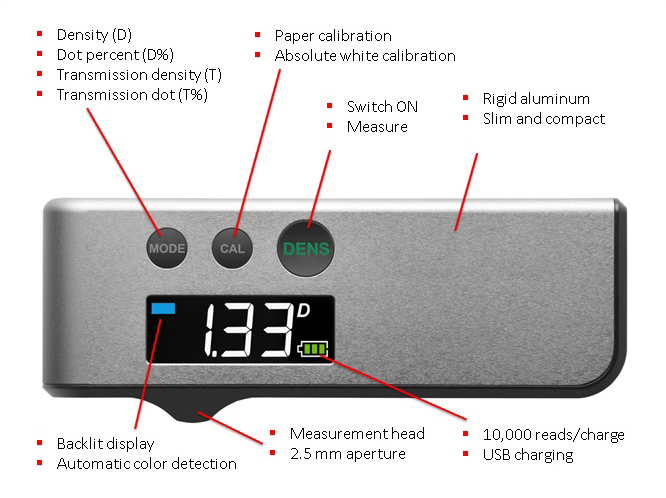 𝔰𝔯𝔠 Techkon
Plate Making Process
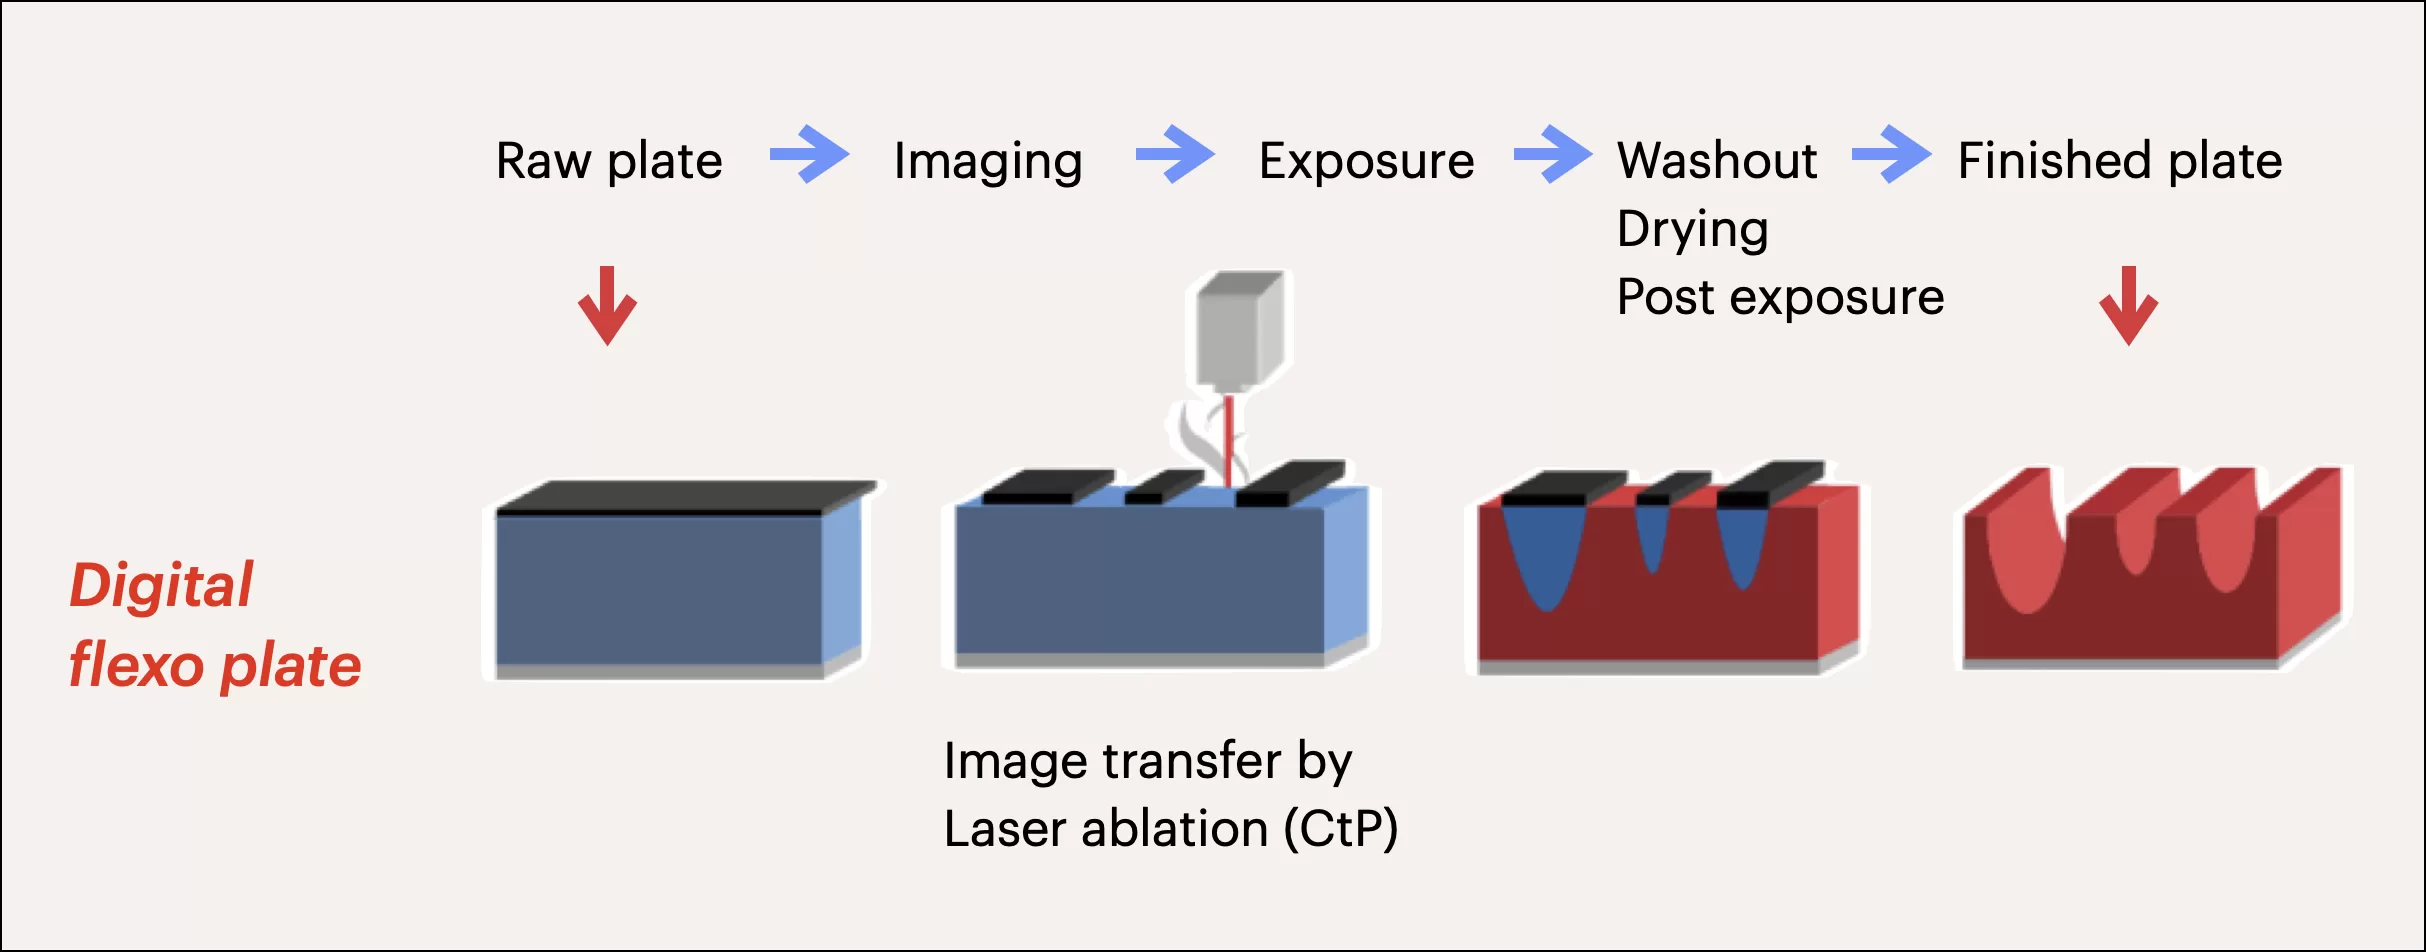 𝔰𝔯𝔠 Anyflexo
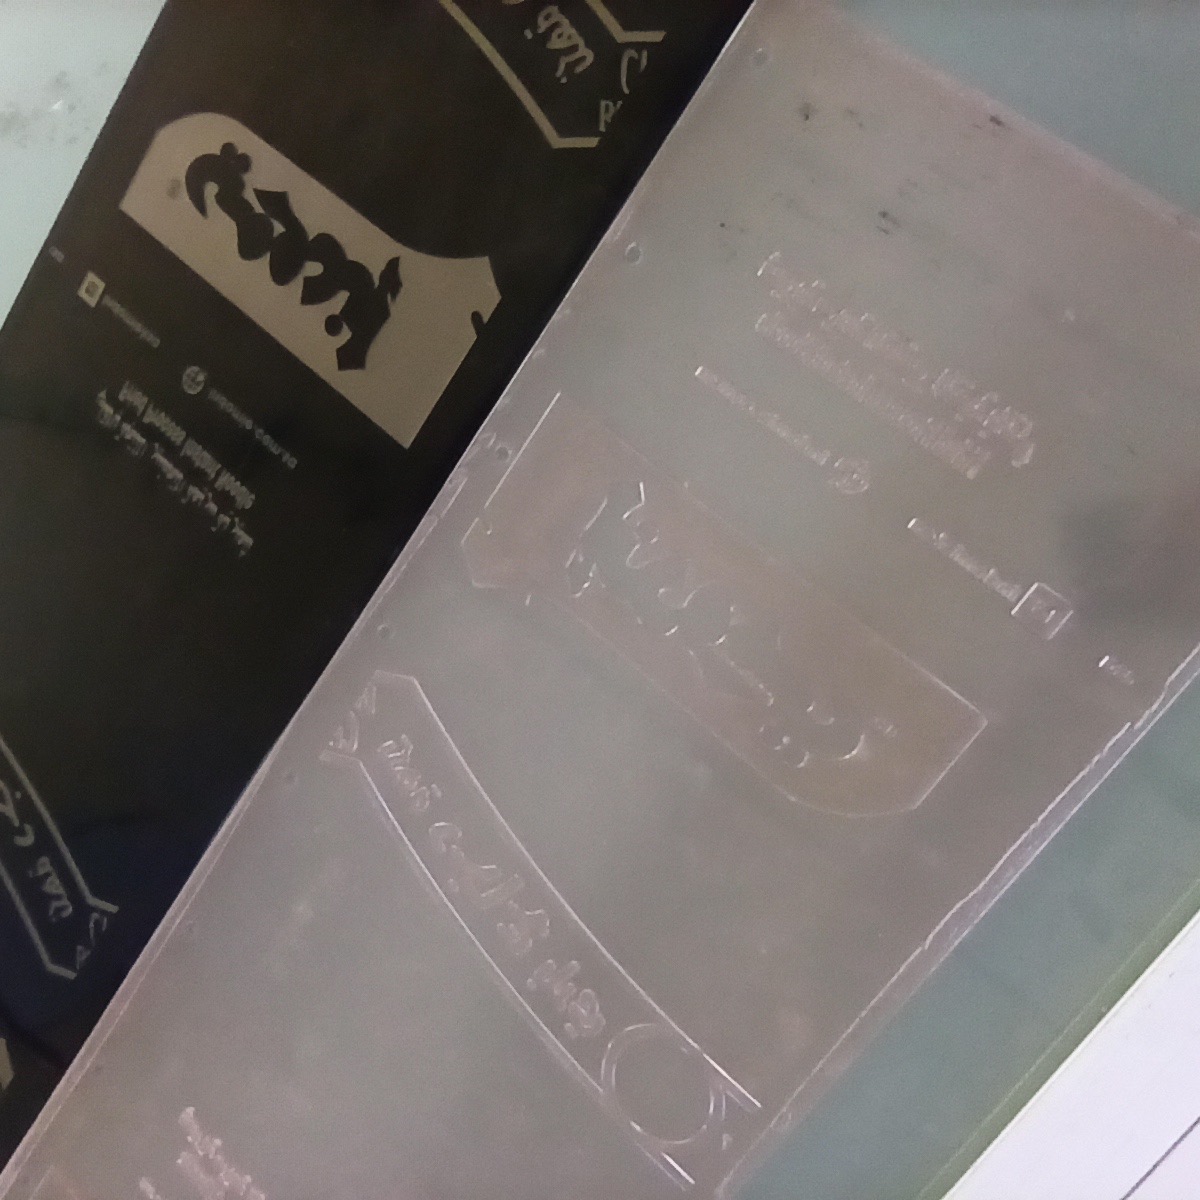
- Laser imaging accuracy: Ensure laser imaging accuracy to maintain design integrity.
- Exposure settings: Adjust exposure settings to achieve the correct plate hardness and durability.
- Washout protocols: Follow strict washout protocols to ensure no detail is lost from the plate.
- Drying conditions: Validate that the plate has been dried evenly and thoroughly to prevent warping or distortion.
- Finishing checks: After the plate processing finishes, it is necessary to carry out measurements to ensure that they meet the specs, for example:
- Calibre
- Relief
- Dot formation
- Cleaning
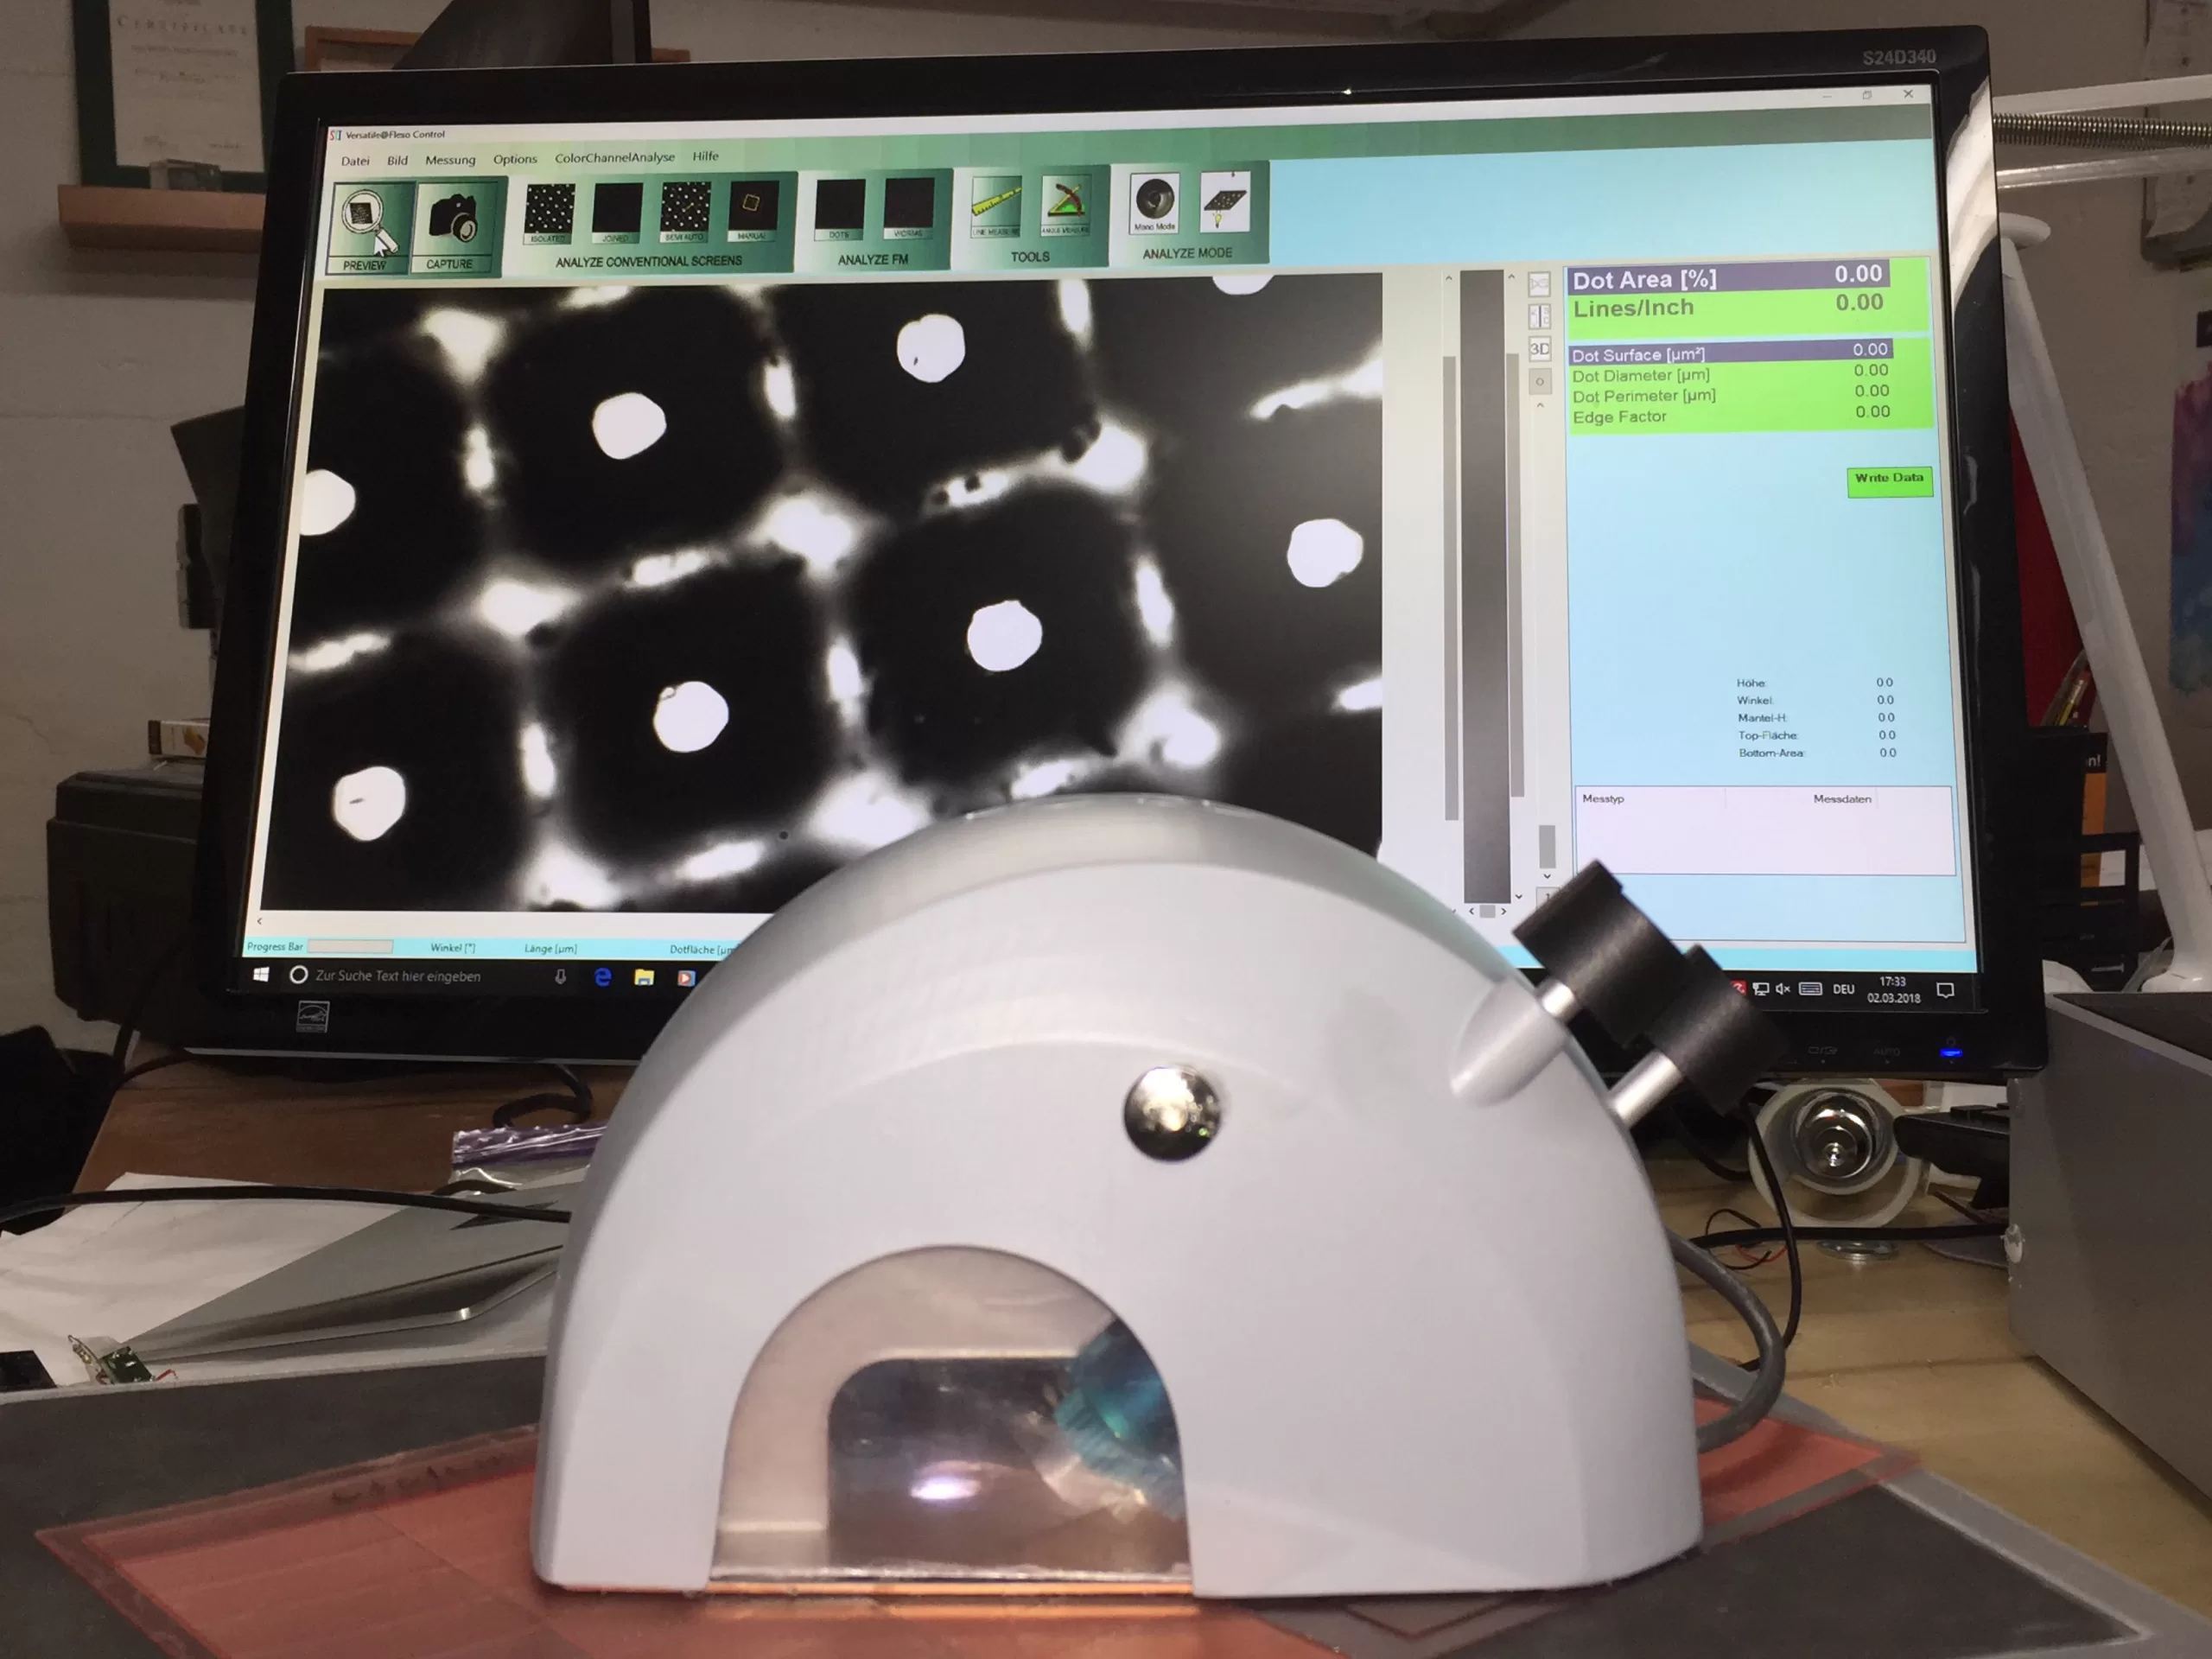 𝔰𝔯𝔠 Sibress
With FC3D+ you can measure the Calibre, Relief and check Dot formation and Dot shape easily.
Conclusion
Attention to detail in the flexo prepress quality control is not only beneficial – it’s mandatory. Neglecting even one of these checkpoints can jeopardise not only a single print run, but the reputation of a printing company. By adhering to these standards and quality controls, printers can ensure that their products consistently meet both their own and their customers’ expectations, strengthening their position in the marketplace with every print they produce.


